This challenge - Custom accents from the oven - was nearly the one that ended my attempt to enter all the challenges.
I watched Heather's tutorial - it looked so easy - so I thought I'd have a crack at it.
This was what happened when I tried shrinking the plastic with the embossing tool (despite the assurances that it would flatten out when done)


I watched Heather's tutorial - it looked so easy - so I thought I'd have a crack at it.
This was what happened when I tried shrinking the plastic with the embossing tool (despite the assurances that it would flatten out when done)
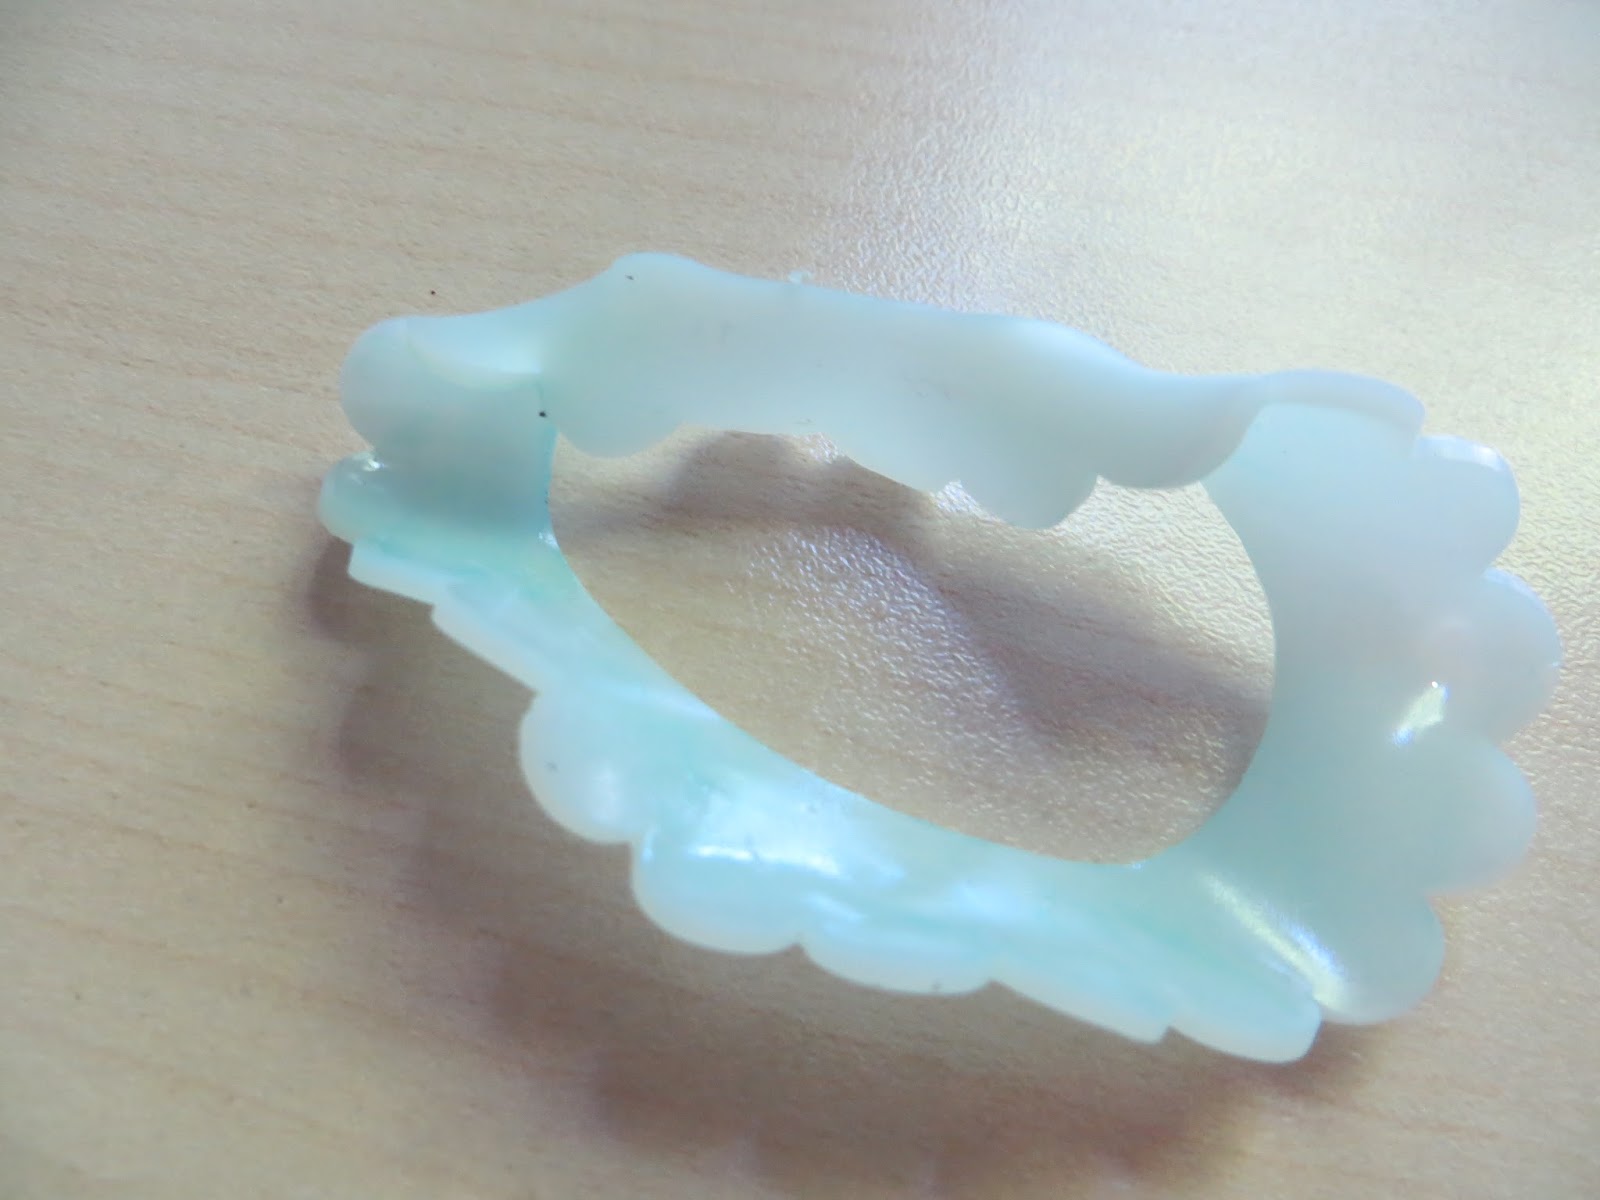
So, for the second attempt I used the oven instead and had much better results.
I don't have any big dies so I used the cricut to cut a 5 inch scalloped circle and then cut a circle out of the centre to give the wreath shape. I could not believe how much it shrunk!
Then the fun started. Heather had simply dropped beads onto her shape and set them in place. For every bead that stuck for me, at least 5 blew away or slipped gently off the side. And then I thought I'd try some shaved ice - oh the mess!

However, the resulting wreath is very pretty so maybe I'll try it again when I've got a bit more time.
I then had 1 final problem. How do you attach vellum so that the adhesive doesn't show through?
I have seen that vellum question a number of times. I am glad that I use Glue Arts tape runner since their tape works great on vellum.
ReplyDeleteThis came out so pretty!! I LOVE the vellum and the colors you used!!
ReplyDeleteThis turned out beautifully. I feel your pain with the the shrink plastic. Definitely a trial and error process but look at the result!
ReplyDeleteThis is so pretty. I'm off to give it a try - want to make it work with the heat gun... I attach vellum with glue dots (if a smaller area, you can hide them under some stamping or an embellie) or by sewing (if you want to attach a large area). Hope that helps.
ReplyDeleteLove your card and that wreath was well worth the effort in my opinion! With a top-fold card (which I notice you have here), I would cut the vellum about an inch taller than what you need; score and fold that extra inch, then attach it to the back of the card - no need to worry about adhesive showing on the front!
ReplyDelete